A website with the Chatbase embed script already installed and working.
New to Chatbase? Check out Your First Agent to get started with the embed script first.
Set up the form configuration in your Chatbase dashboard:
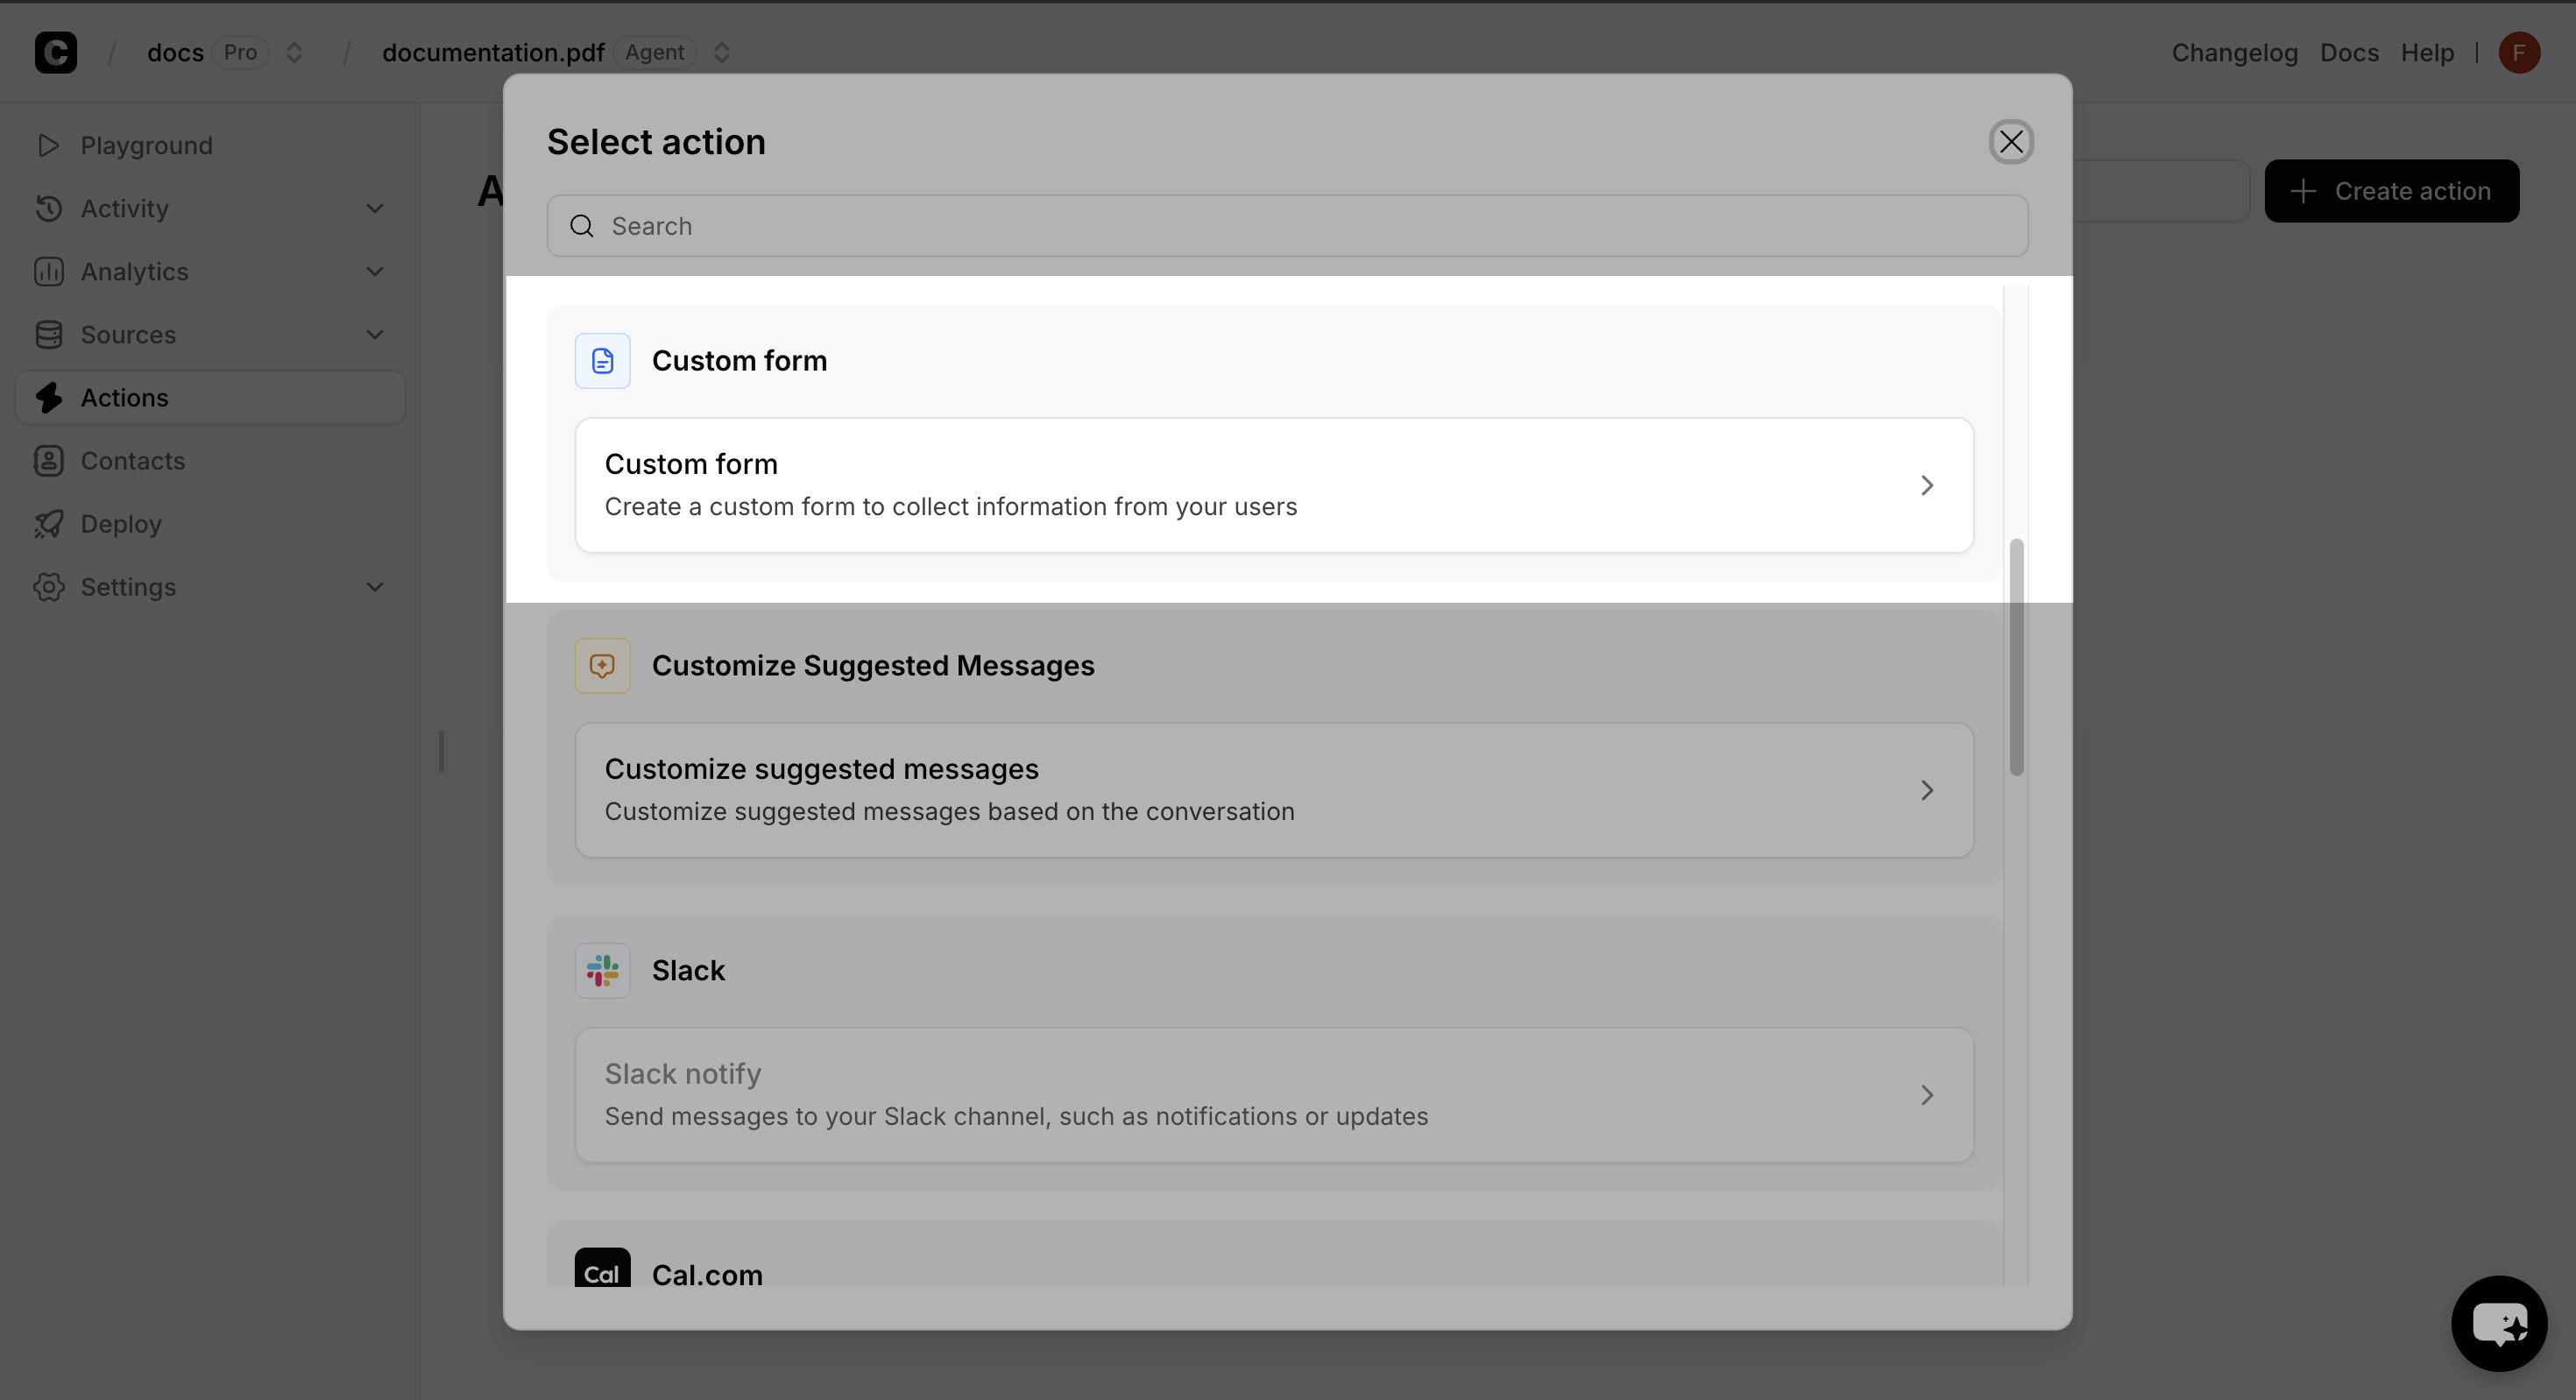
Navigate to Actions → Create action → Custom form
Creating a new custom form action in the dashboard
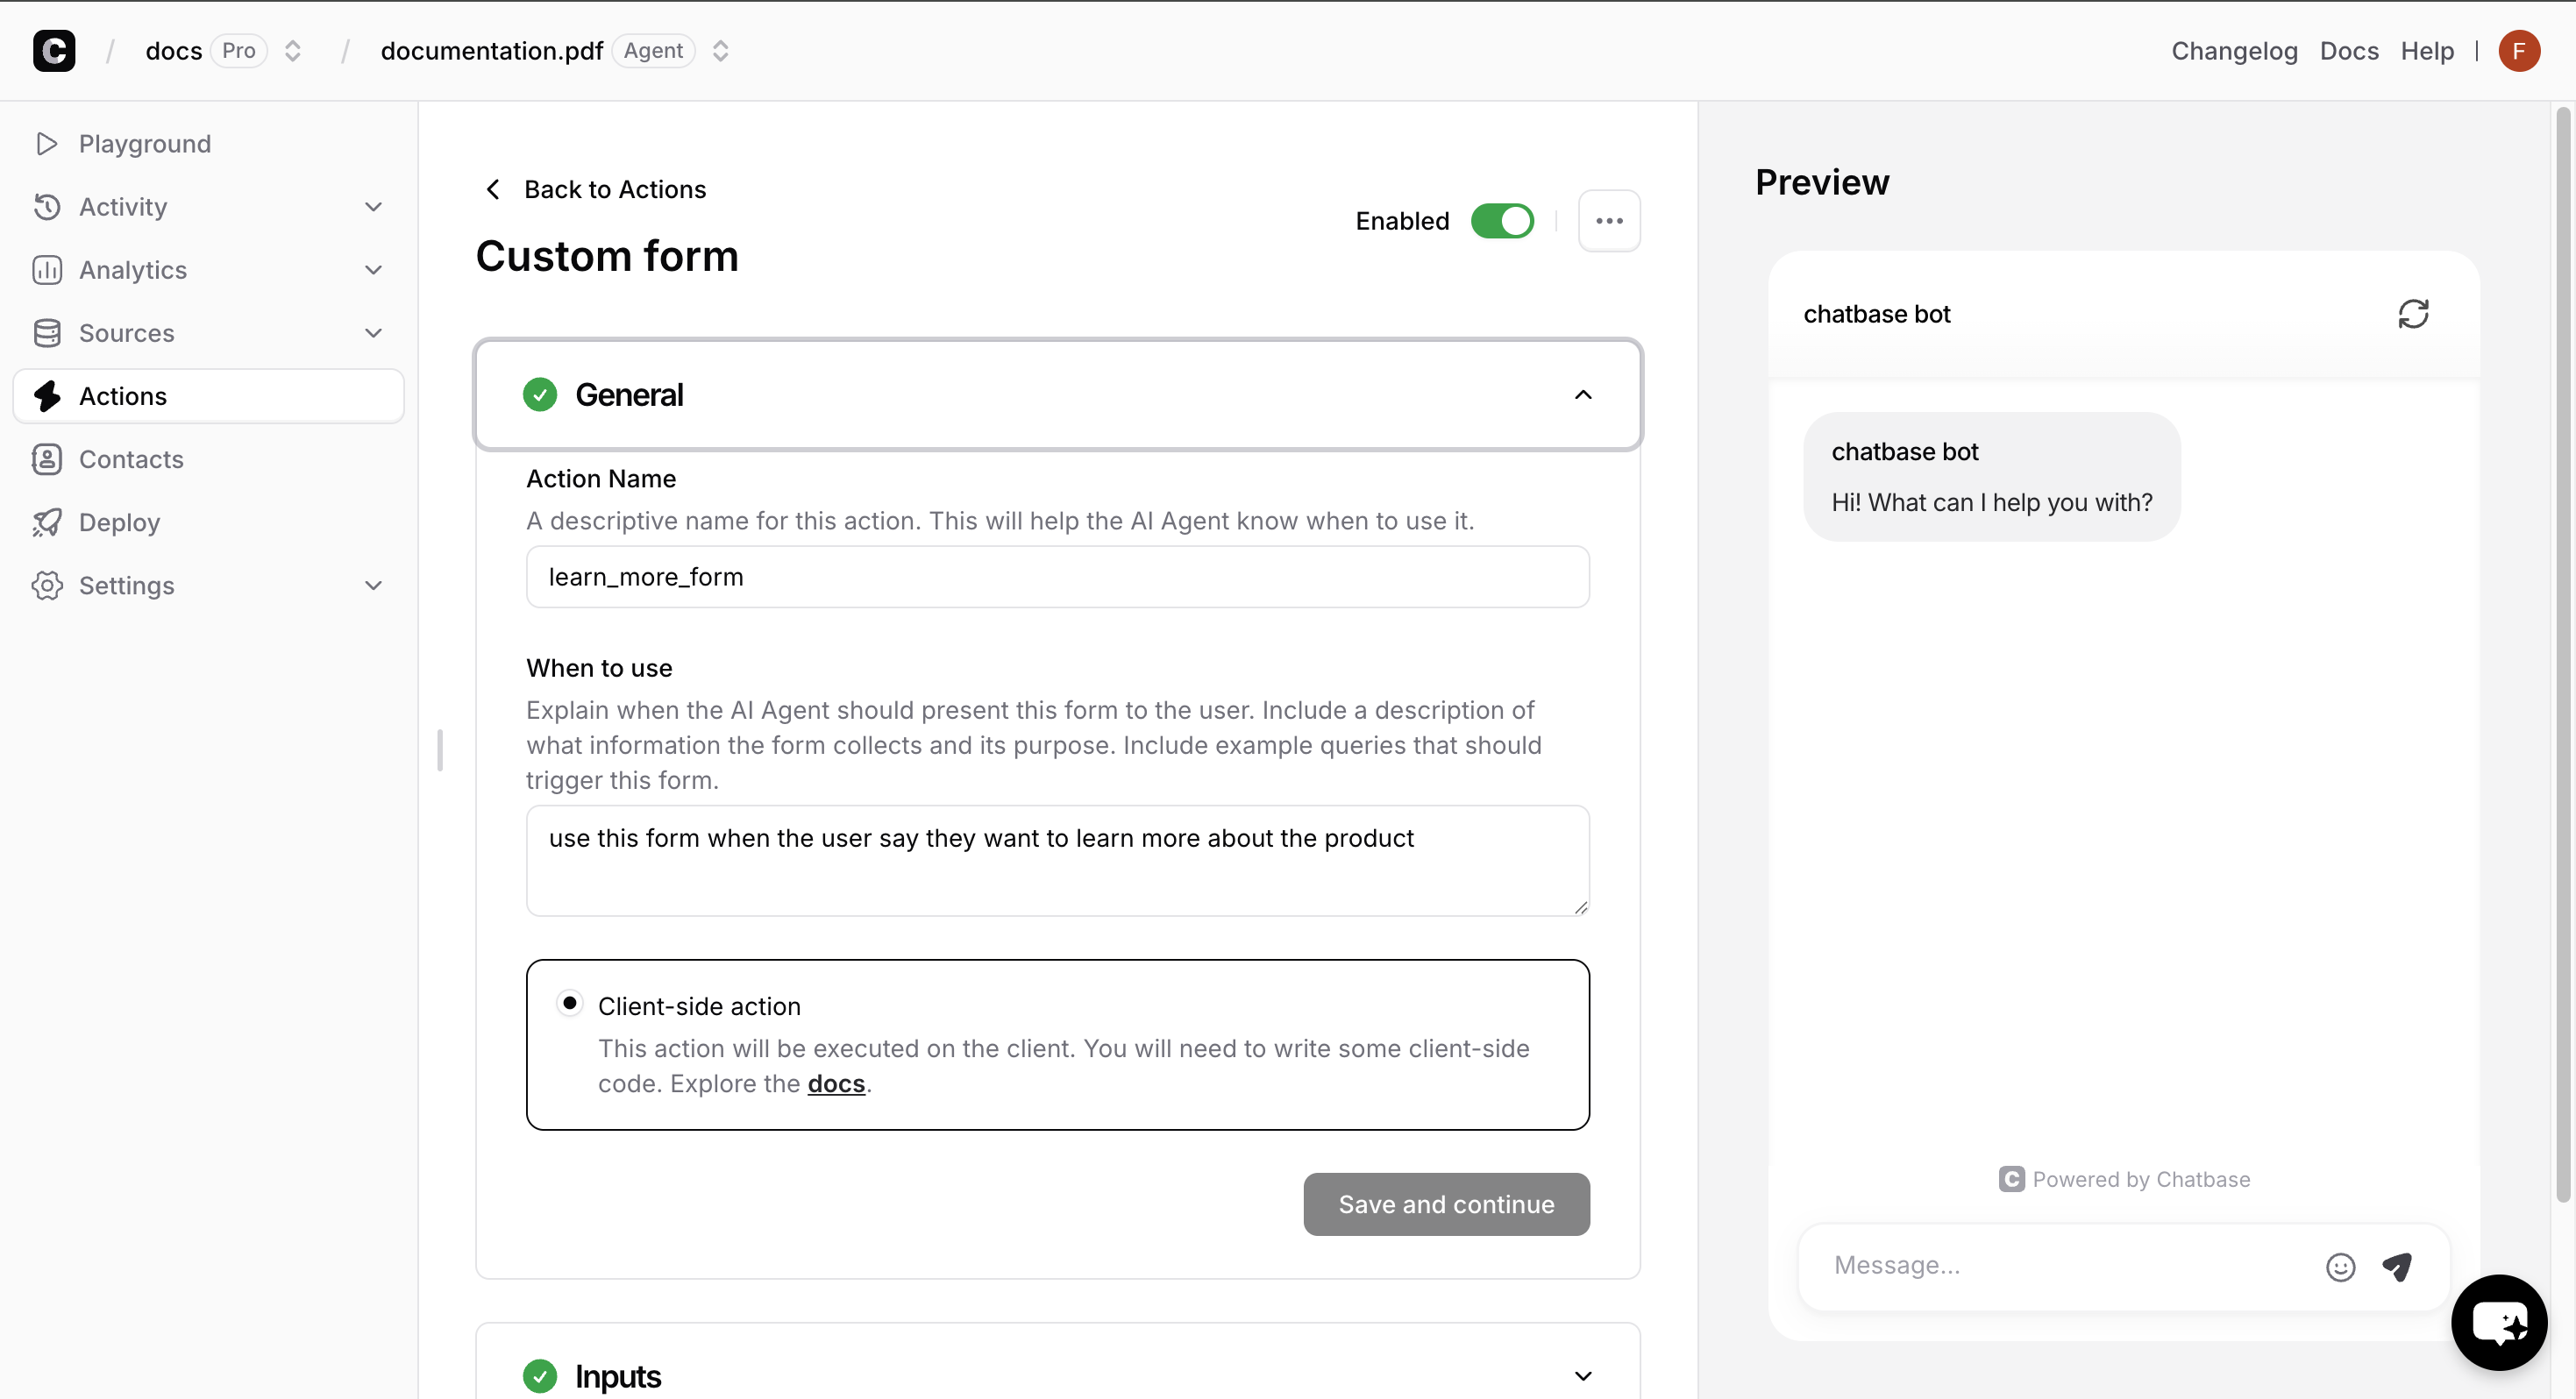
Enter a unique name for your form.
Configure the form when to use.
Click on the Save and Continue button.
Enable the action.
Configuring the form name and when to use
Environment Limitations: Client-side custom forms will not function in:
Chatbase Playground environment
Action Preview mode
Compare features
Testing this action should be done in your actual website environment. Embed the JavaScript script in your website and test the action.
2
Register your form schema
On your website, register your form schema by calling the registerFormSchema method anywhere in your JavaScript code, with the name of the action you created in the dashboard.
Register the form in a root page of your website, or in a component that is loaded on every page.
window.chatbase.registerFormSchema({"learn_more_form": async (args, user) => { return { fields: [ { name: "name", label: "Full Name", type: "text", placeholder: "Enter your full name", validation: { required: { value: true, message: "Name is required" } } }, { name: "email", label: "Email Address", type: "email", placeholder: "Enter your email", validation: { required: { value: true, message: "Email is required" } } }, { name: "message", label: "Message", type: "textarea", placeholder: "How can we help you?", validation: { required: { value: true, message: "Please enter your message" } } } ], submitButtonText: "Send Message", successMessage: "Thank you! We'll get back to you soon.", errorMessage: "Failed to send message. Please try again." };}});
Multiple Registration Override: Calling registerFormSchema multiple times will completely replace all previously registered forms. Always include all your forms in a single registration call.
Your custom form is now ready to use! The chatbot will automatically display your form when the corresponding action is triggered.
3
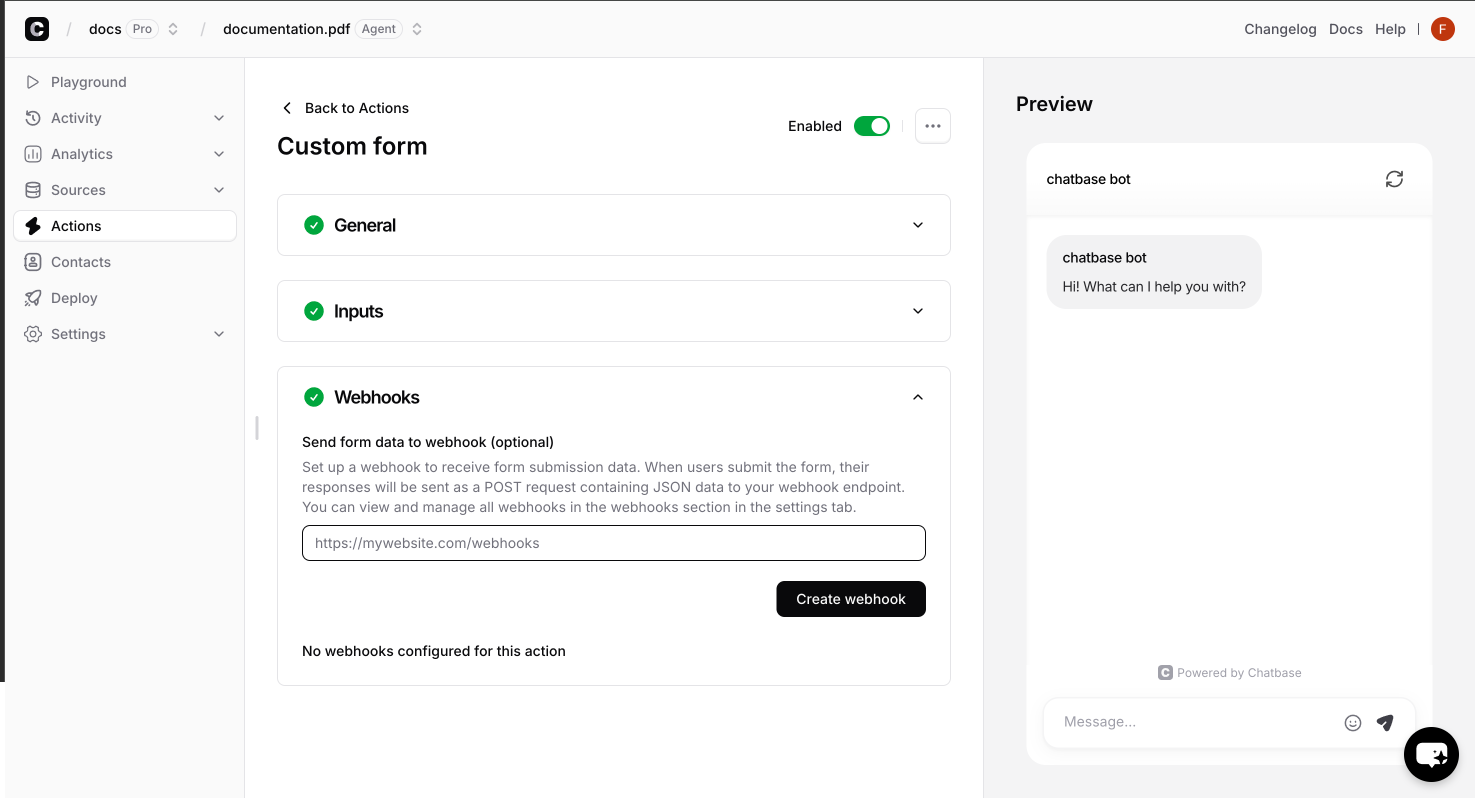
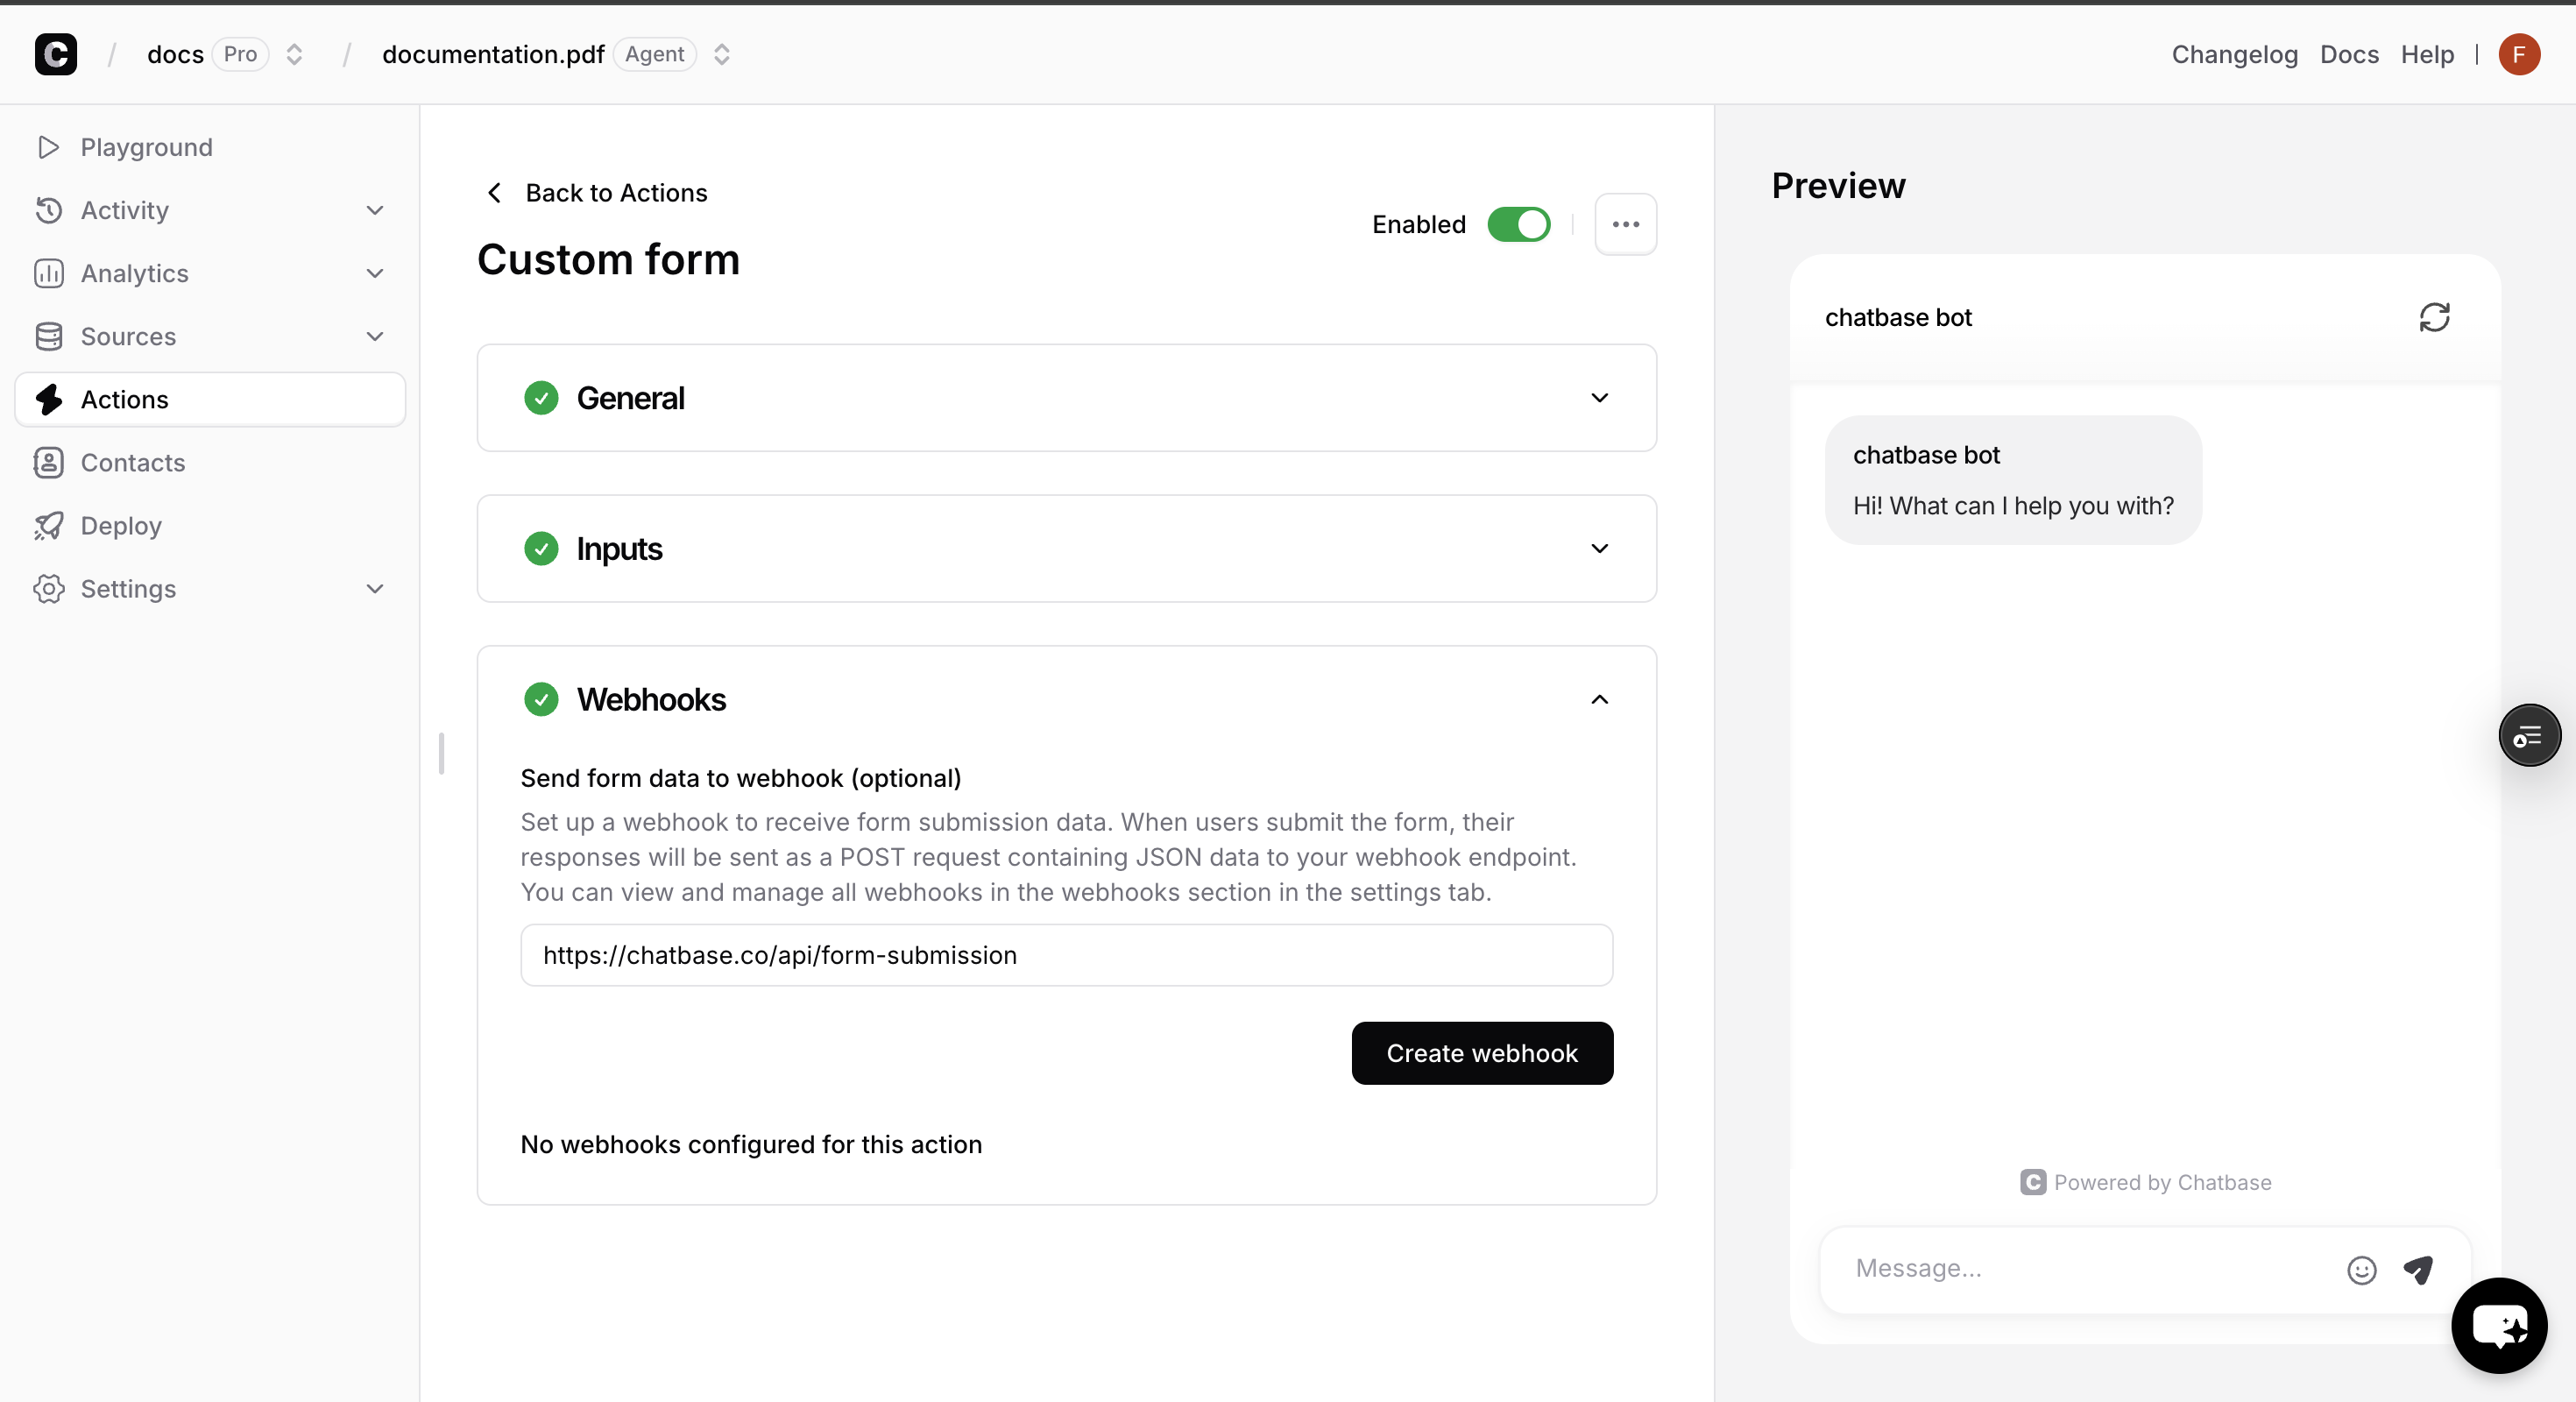
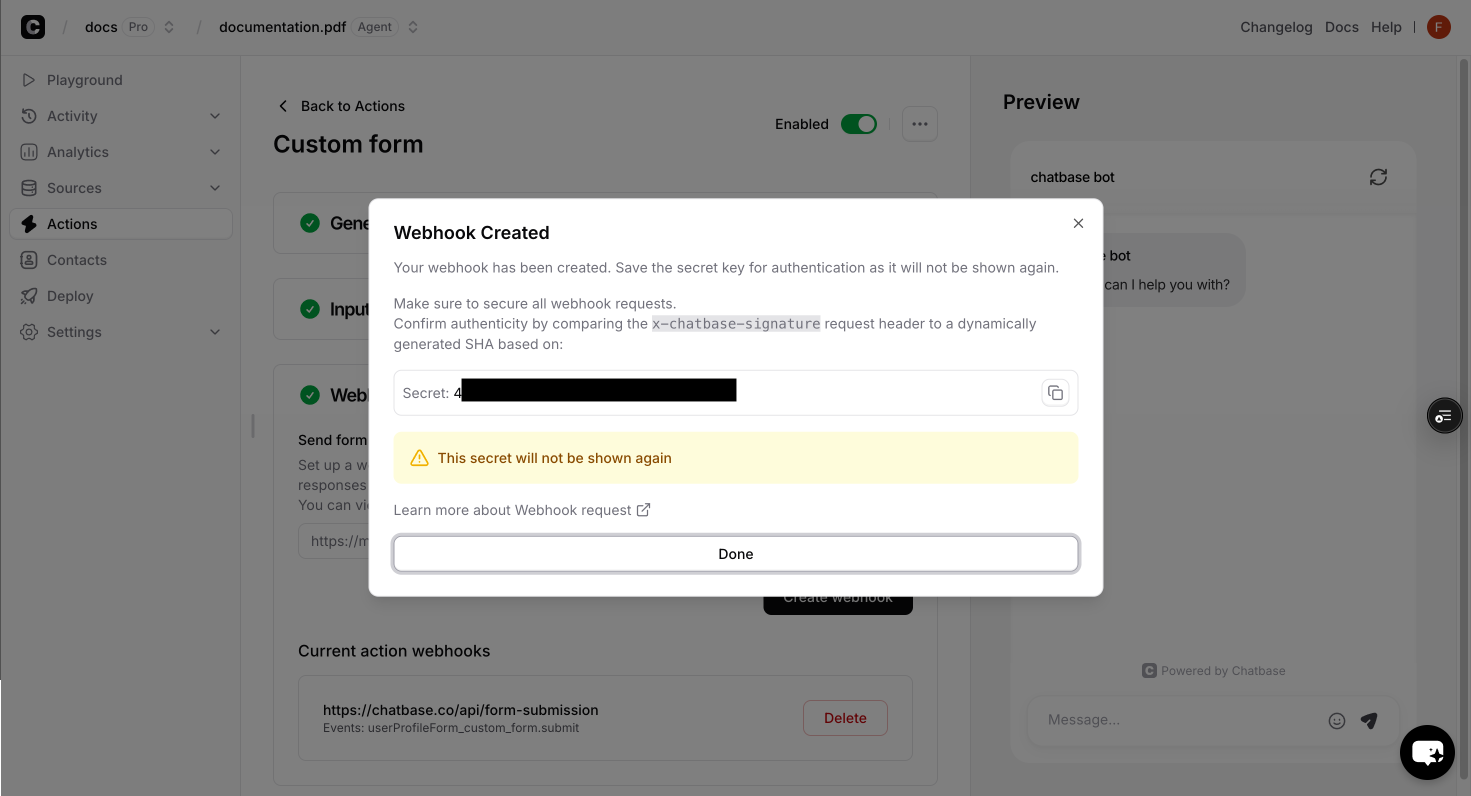
Webhooks (Optional)
You can also configure webhooks to receive real-time notifications when users submit your custom forms. For detailed configuration instructions, see Webhooks Integration.
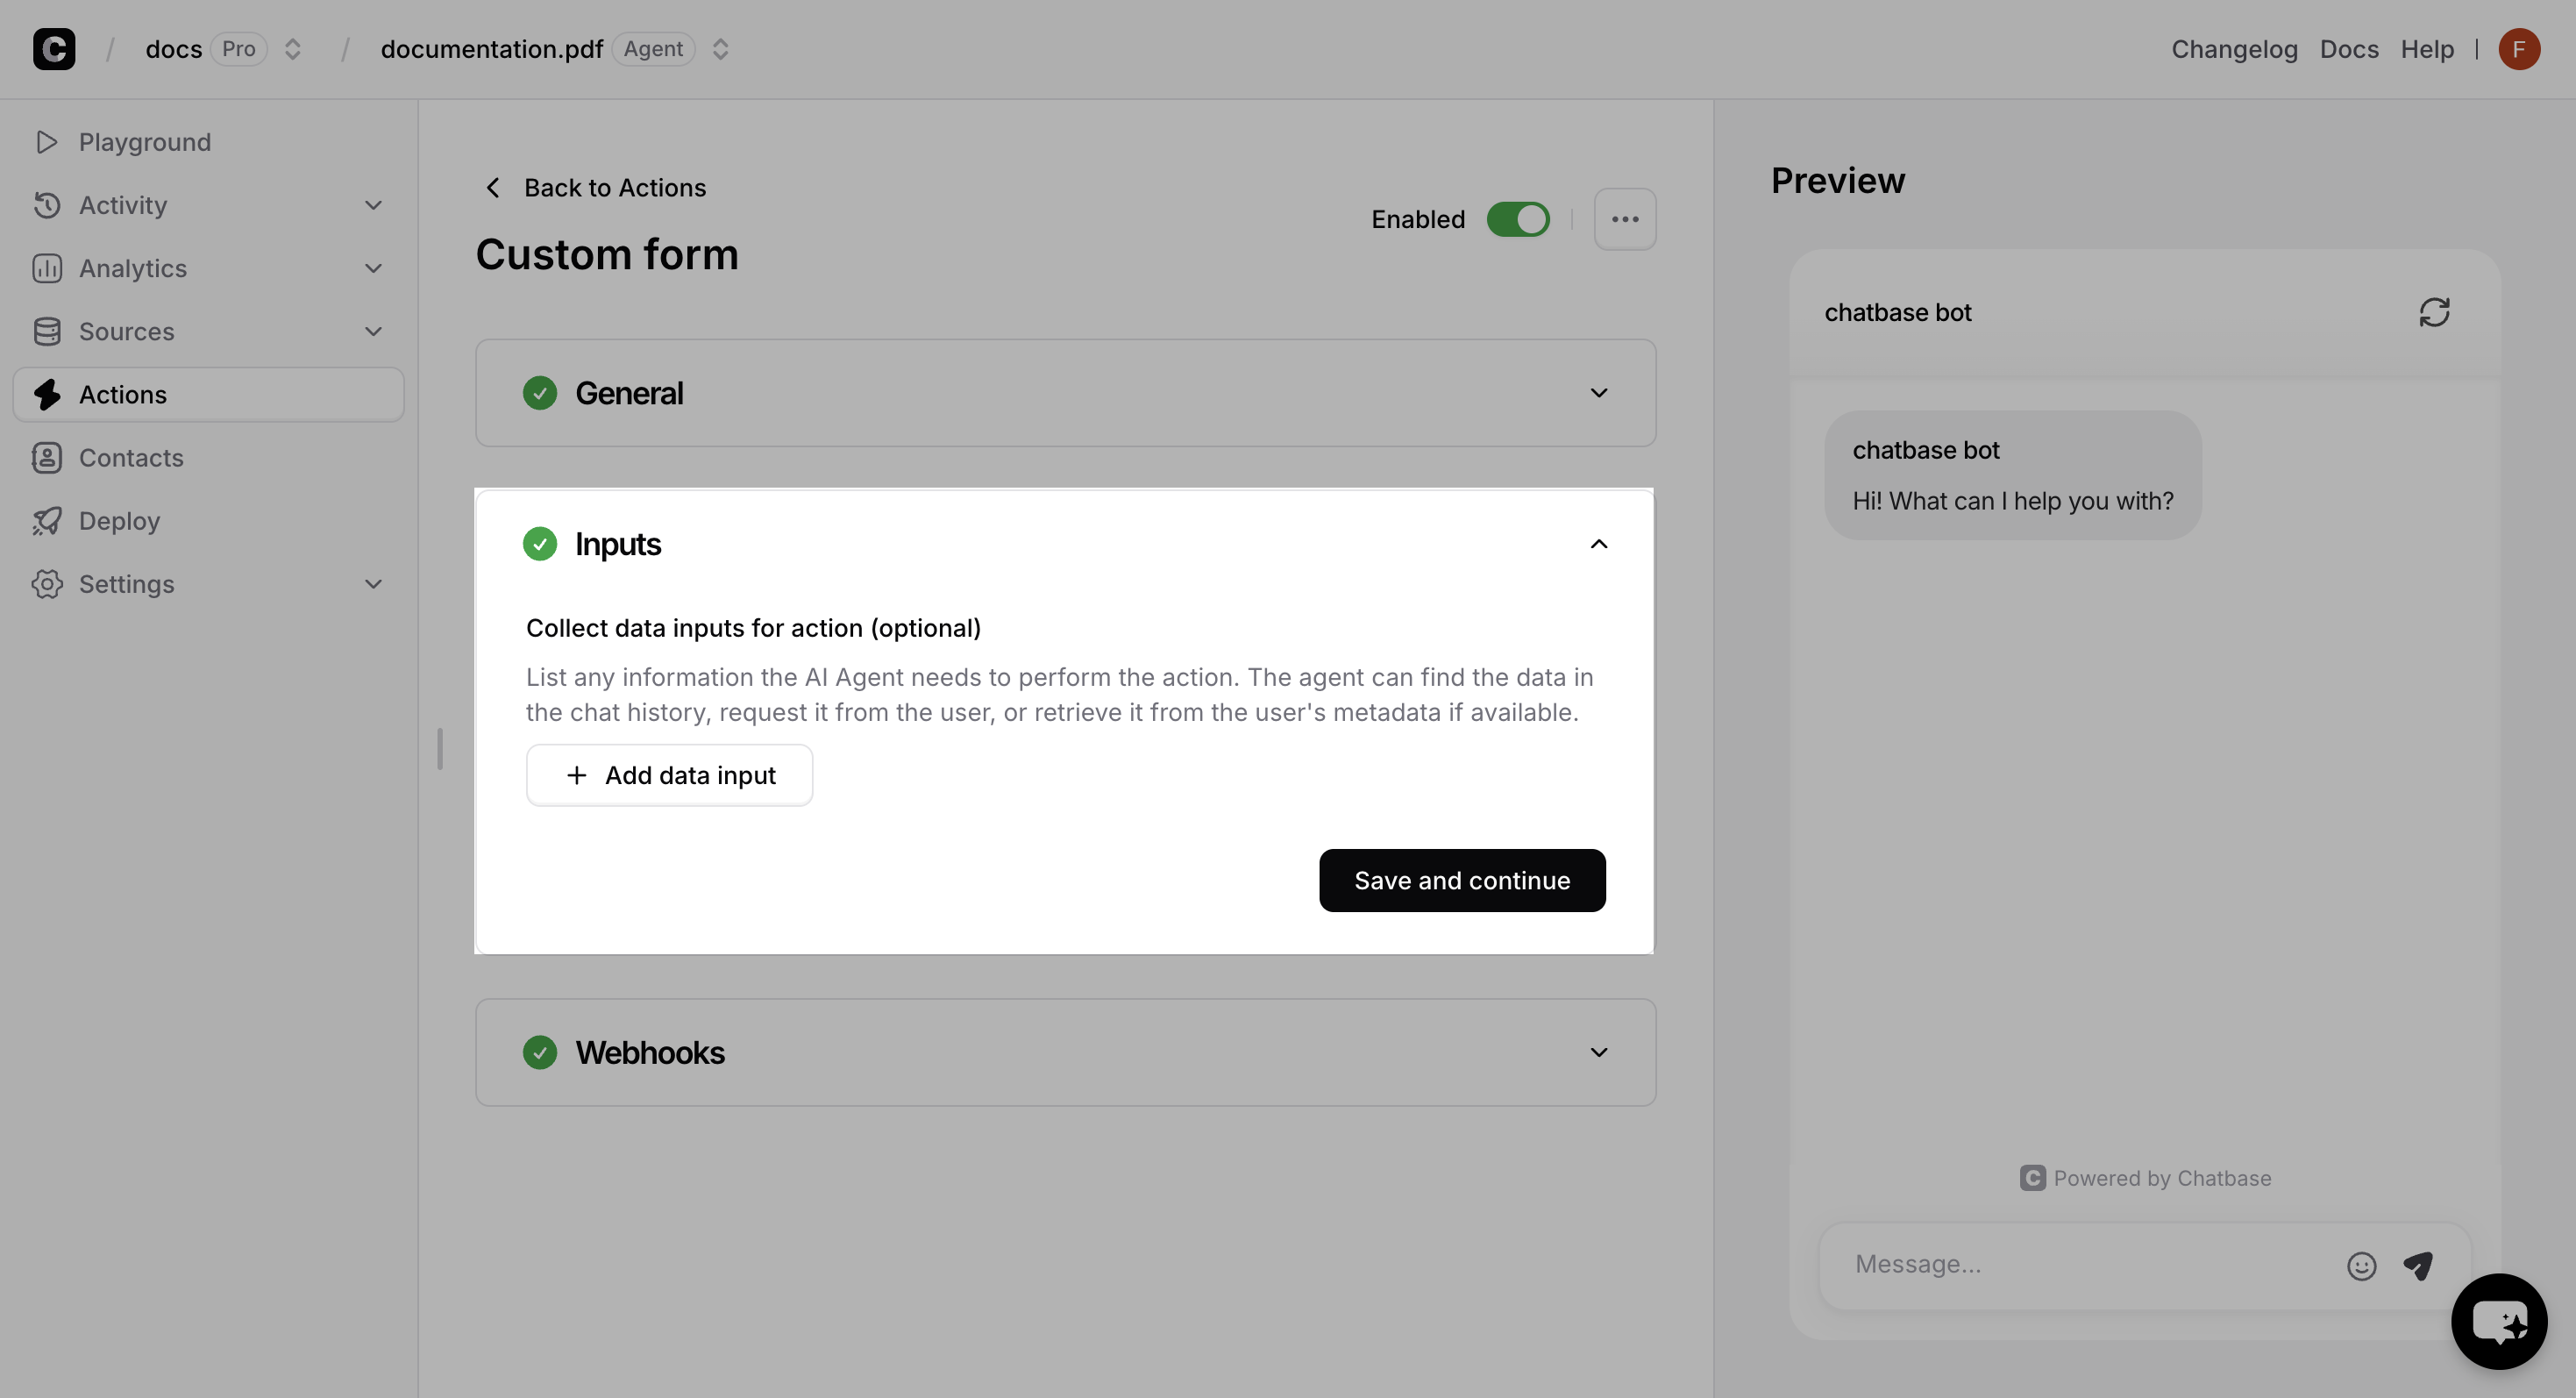
Contains all the arguments defined in your custom form configuration. These are the values the ai agent generated and passed from the AI action when the form is triggered.
Custom user data passed during the identify call (e.g., name, email, company). This field is only present if metadata was provided during identification.
Show When identity verification is not properly configured
Custom user data passed during any identify calls. This field is only present if metadata was provided during identification.
The anonymous IDs (anon_user_id and chatbase_anon_id) are internal identifiers used by Chatbase and can be safely ignored in your custom form implementations.